
Set up GlassHome
The setup takes you from a running GlassHome to a dashboard with your name on it. Most of it is one sign-in with Home Assistant.
Open GlassHome
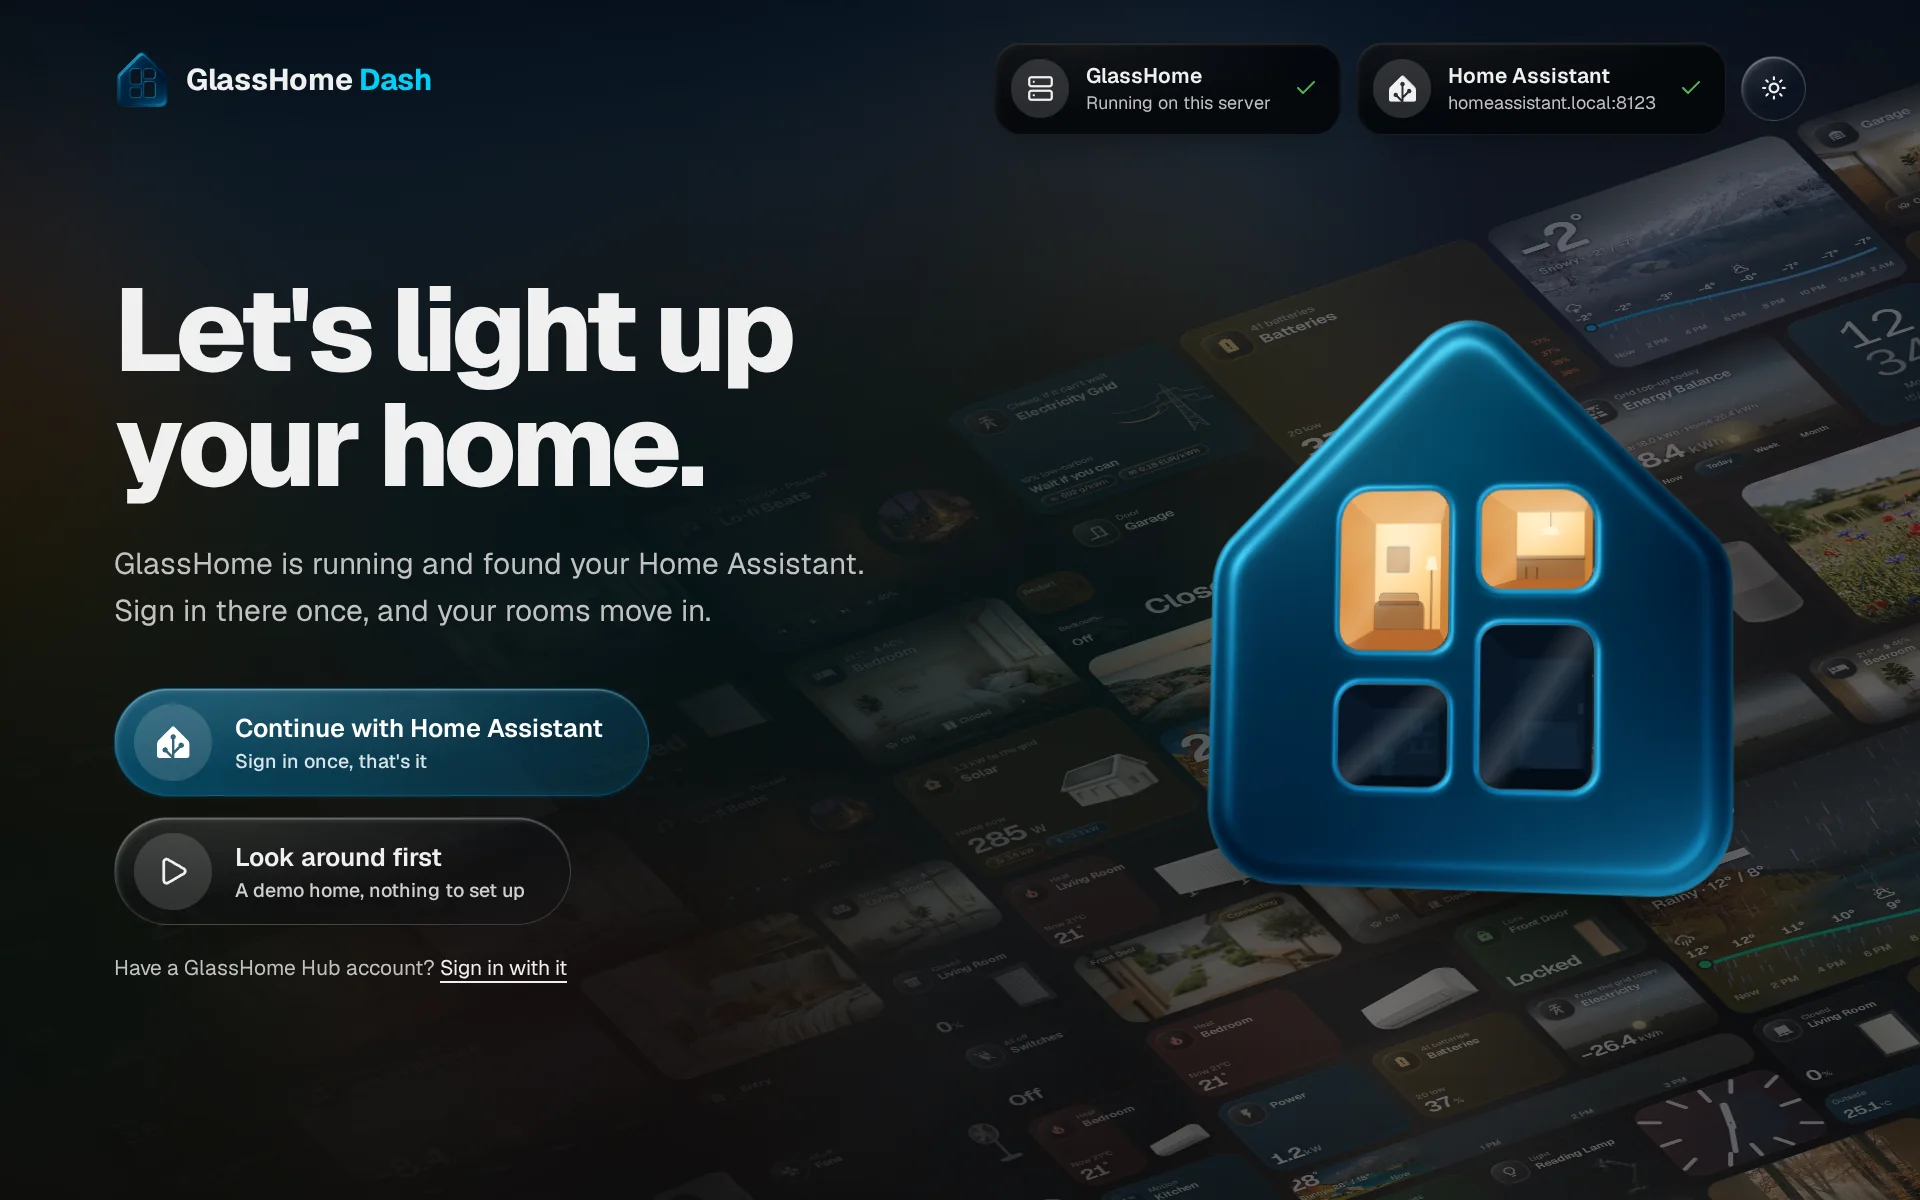
Go to the address you installed GlassHome at, for example http://192.168.1.100:3123. The welcome screen says Let’s light up your home.
Let it find Home Assistant
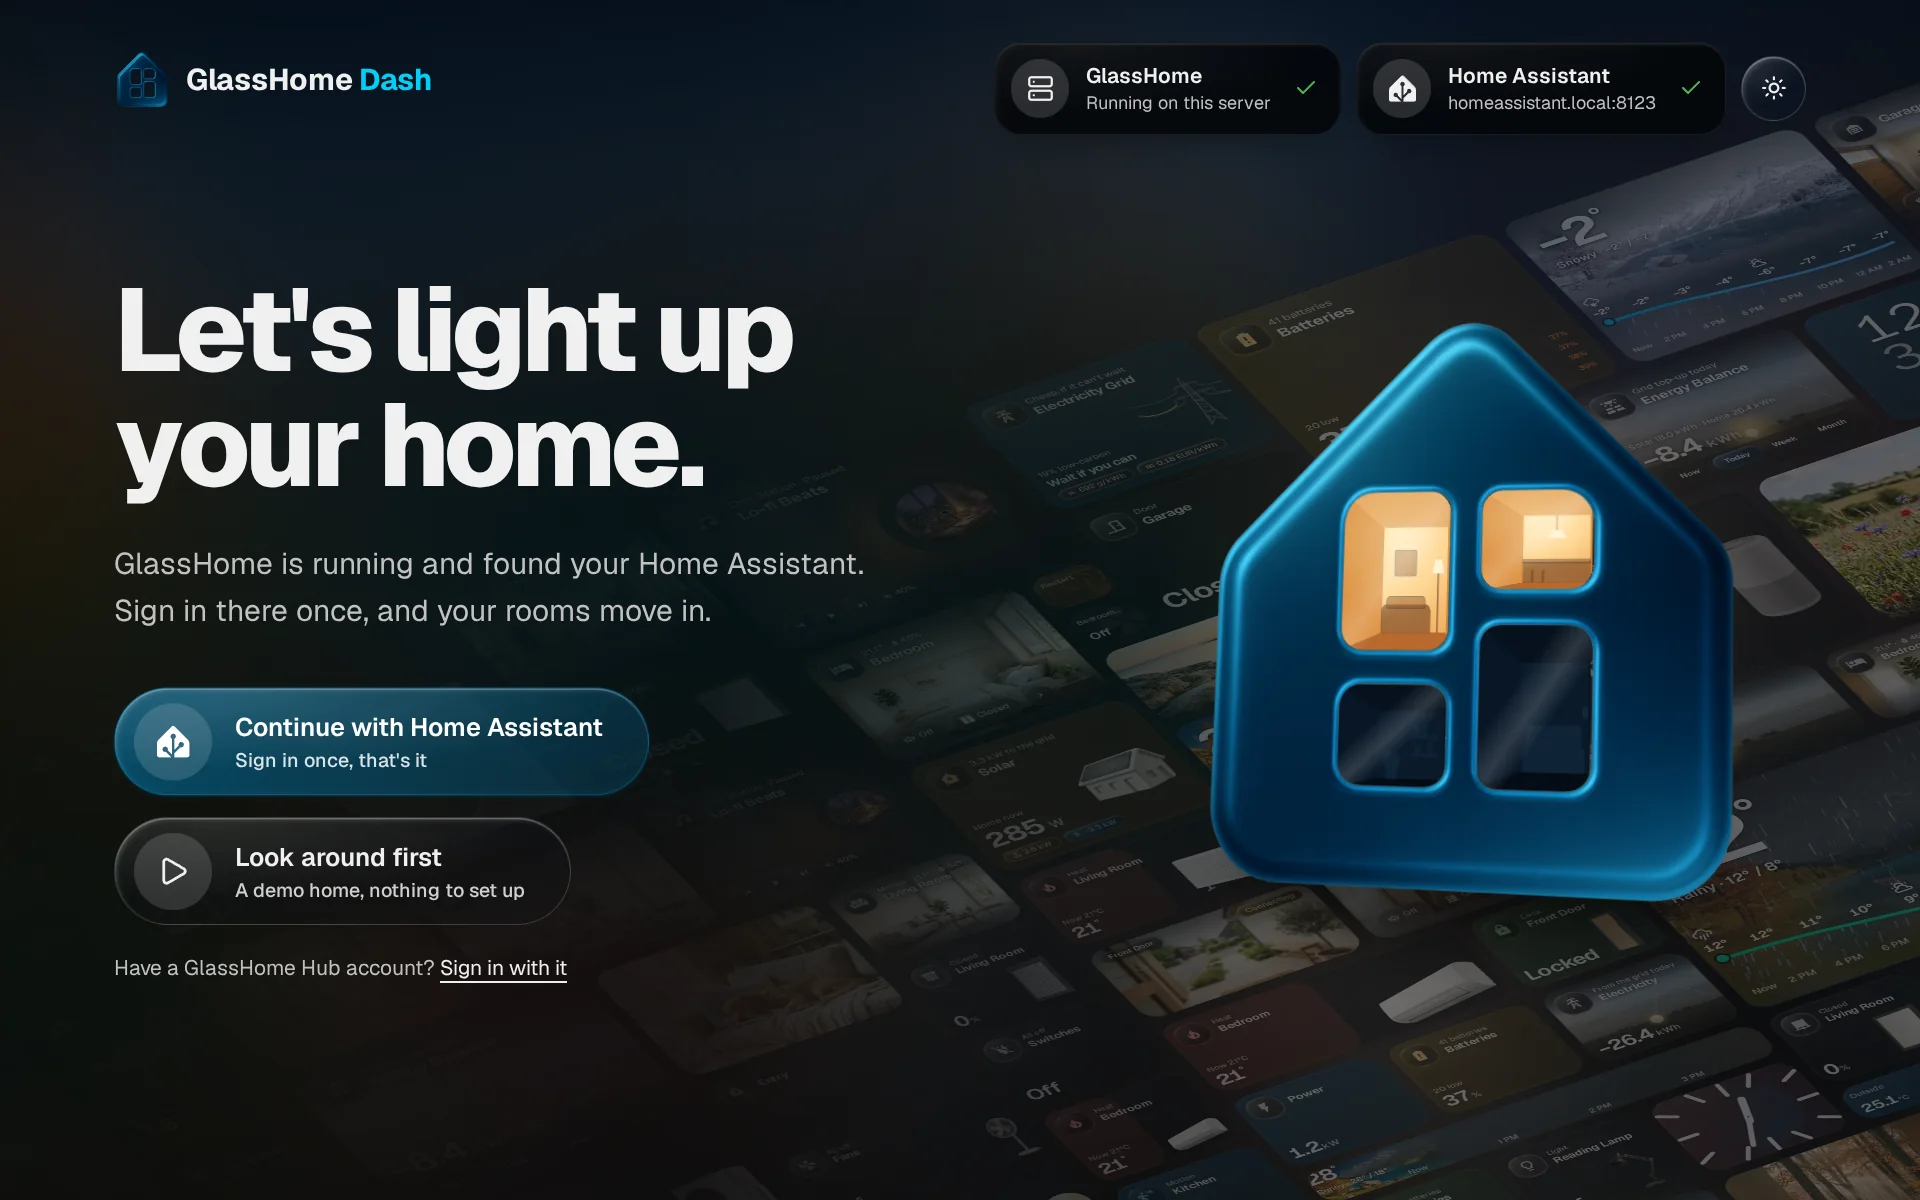
GlassHome looks for Home Assistant on your network by itself. When it finds it, the first button reads Continue with Home Assistant, with Sign in once, that’s it under it. If it cannot find it, type the address you open Home Assistant with into the Home Assistant address field. Tap Continue with Home Assistant and sign in there once; GlassHome brings you back on its own.
Or look around first
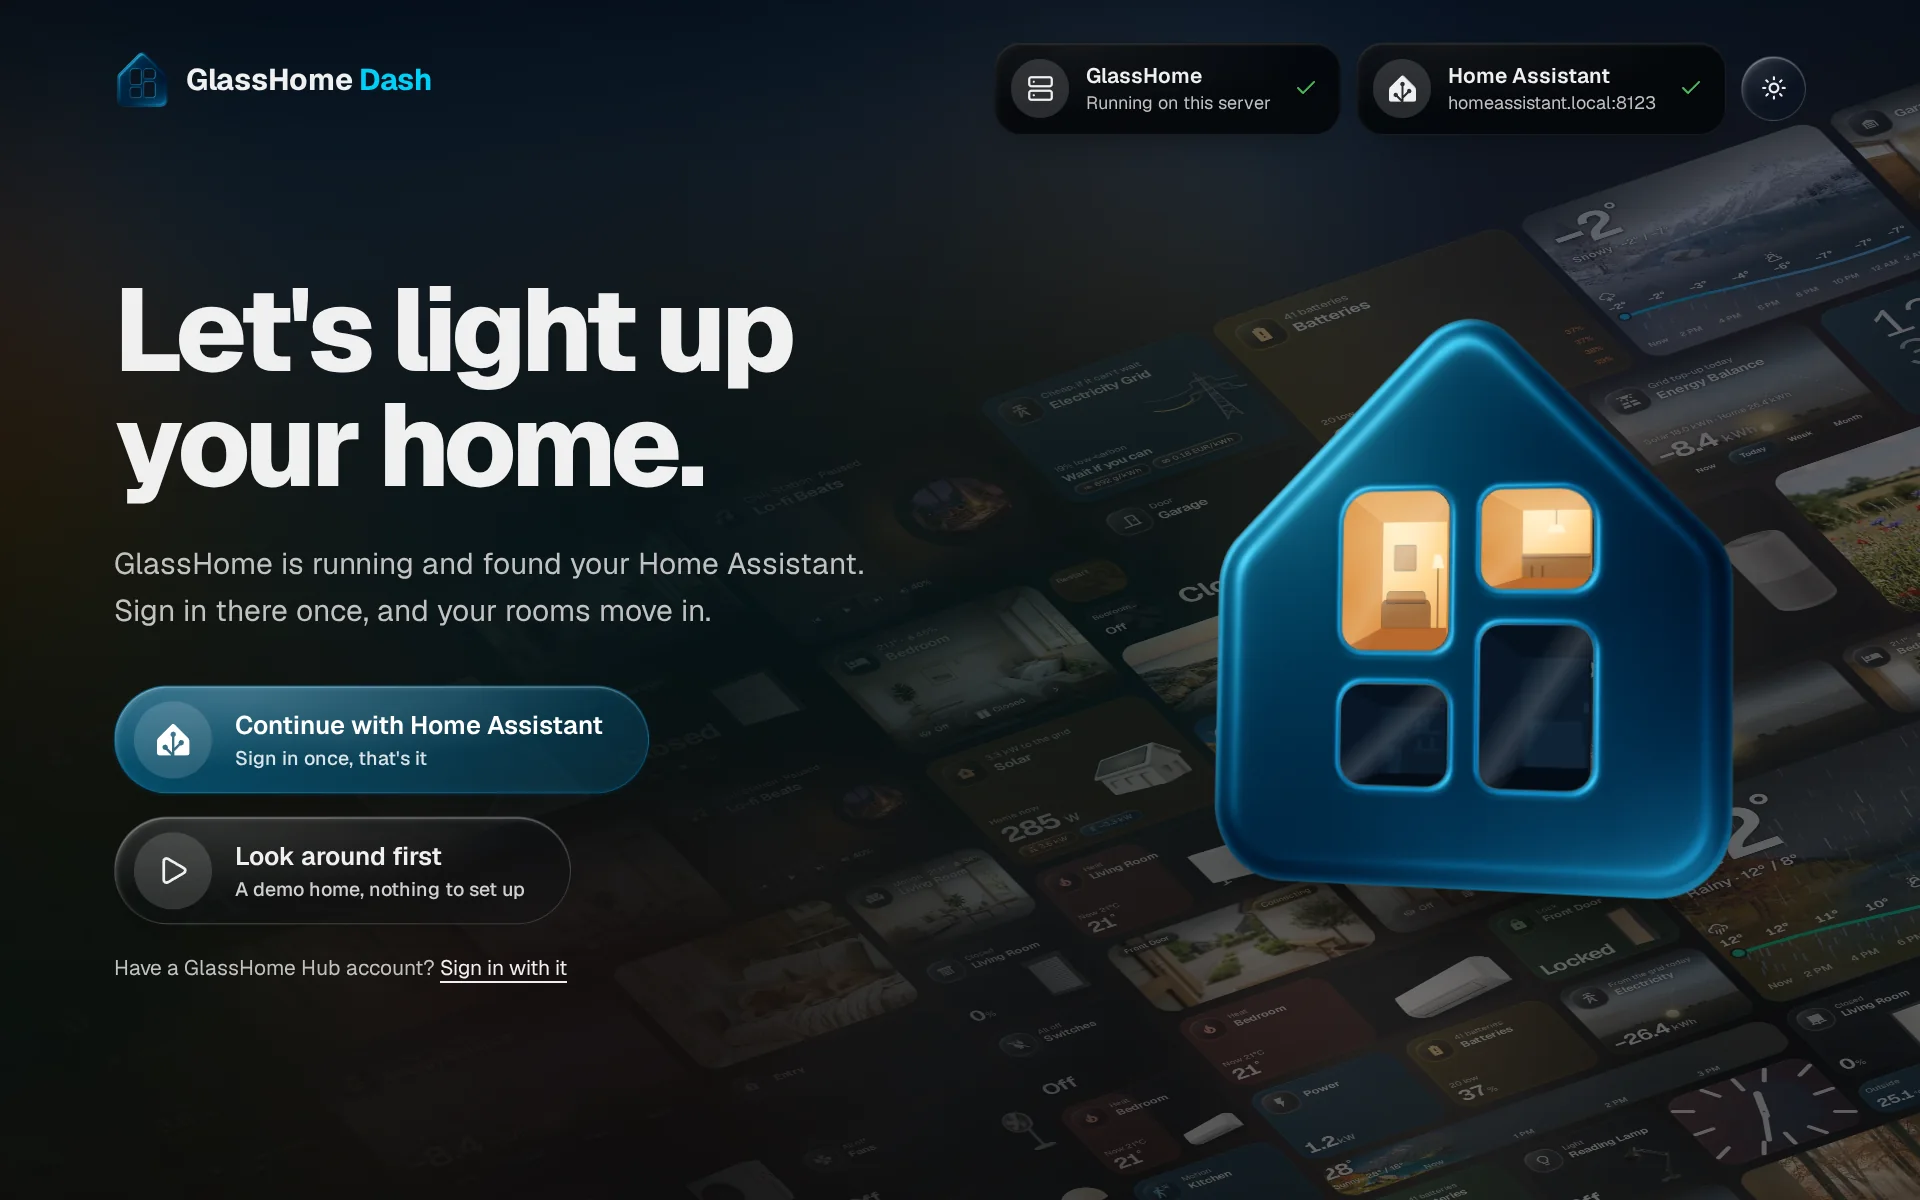
On the welcome screen, Look around first opens a demo home with lights, music and heating, and nothing to set up. When you are ready for your own home, the Sample home row in Settings has Start over. Once your home is set up, an admin can open the demo again by tapping the same row.
Name your home
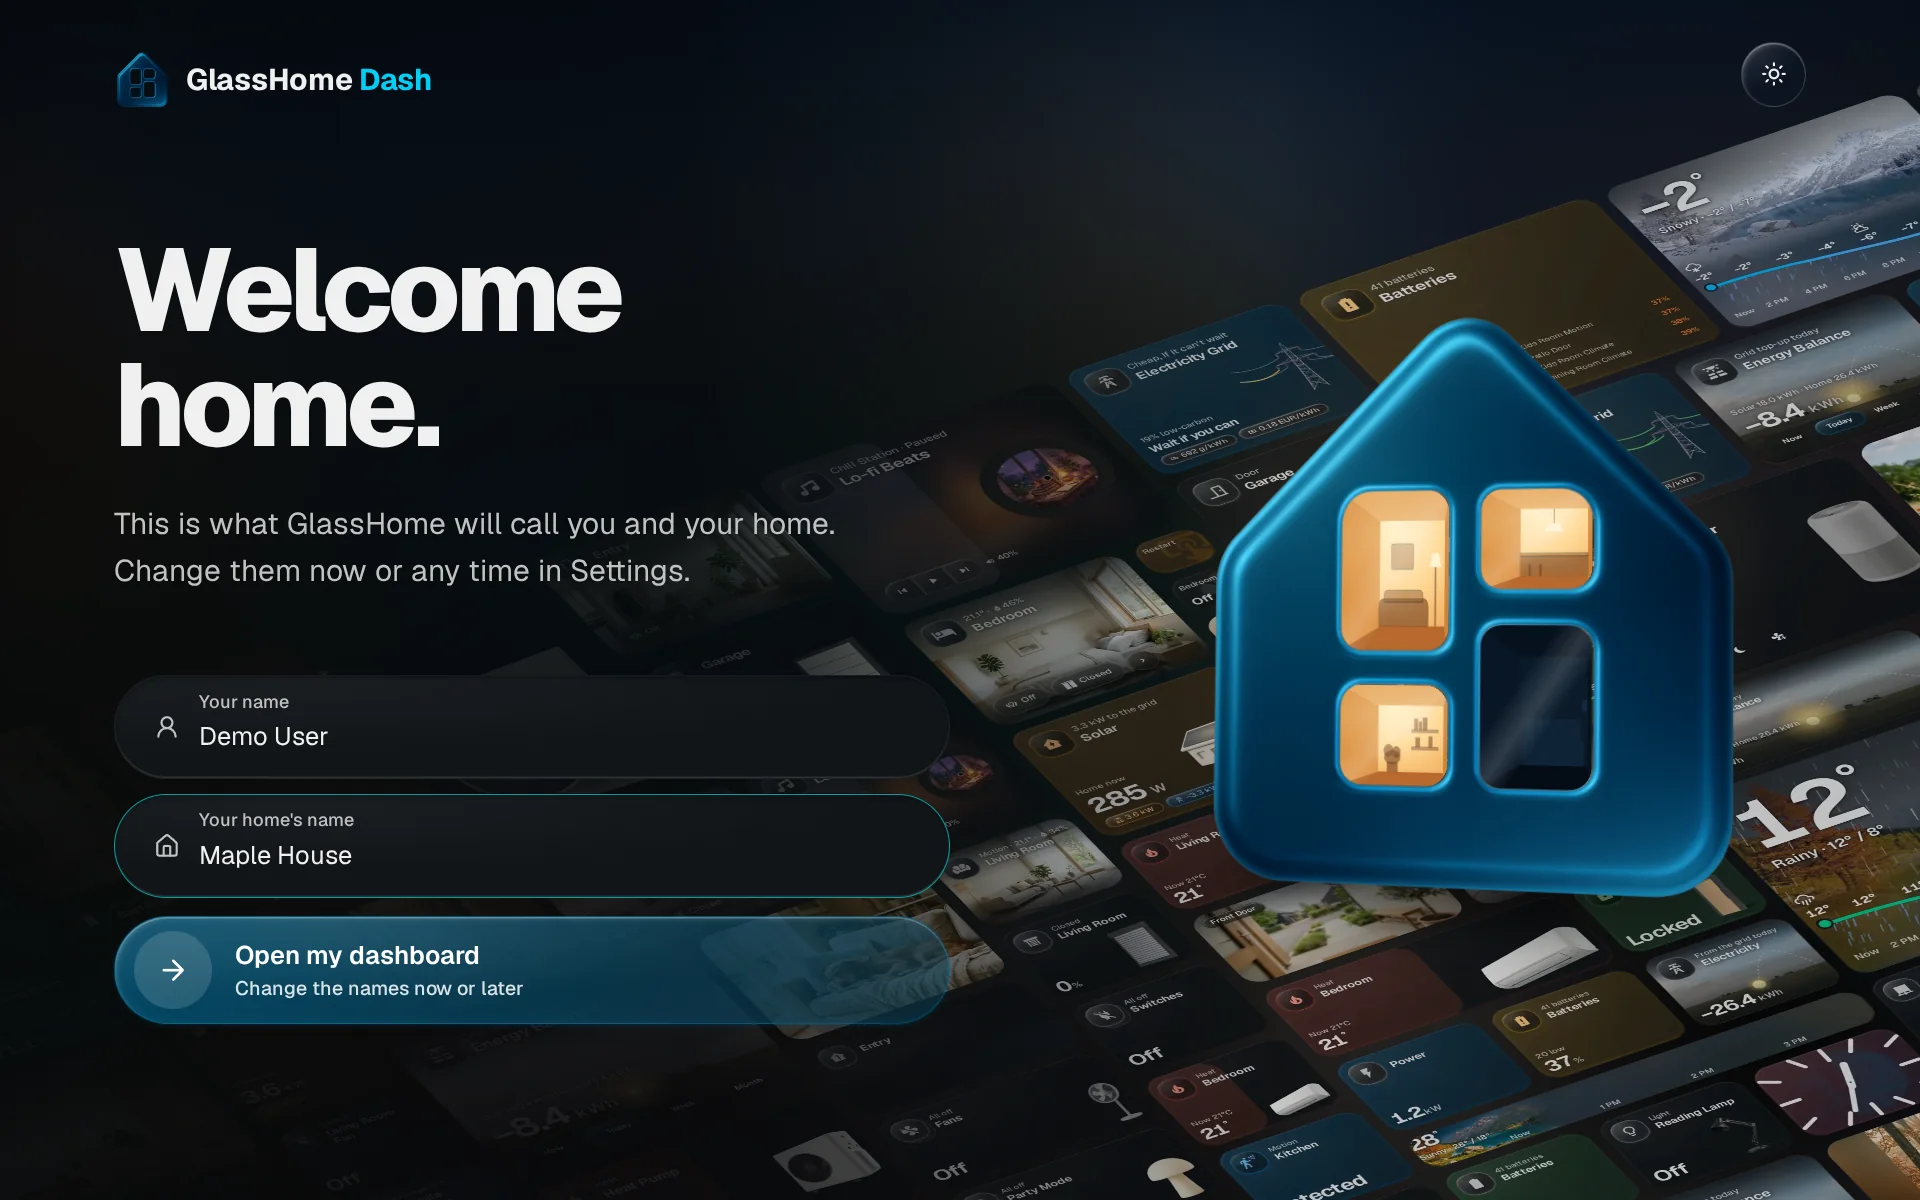
The screen says Welcome home. Your name comes across from Home Assistant, and Your home’s name starts with a name you can change. Change either one, then tap Open my dashboard. You can change both later in Settings.
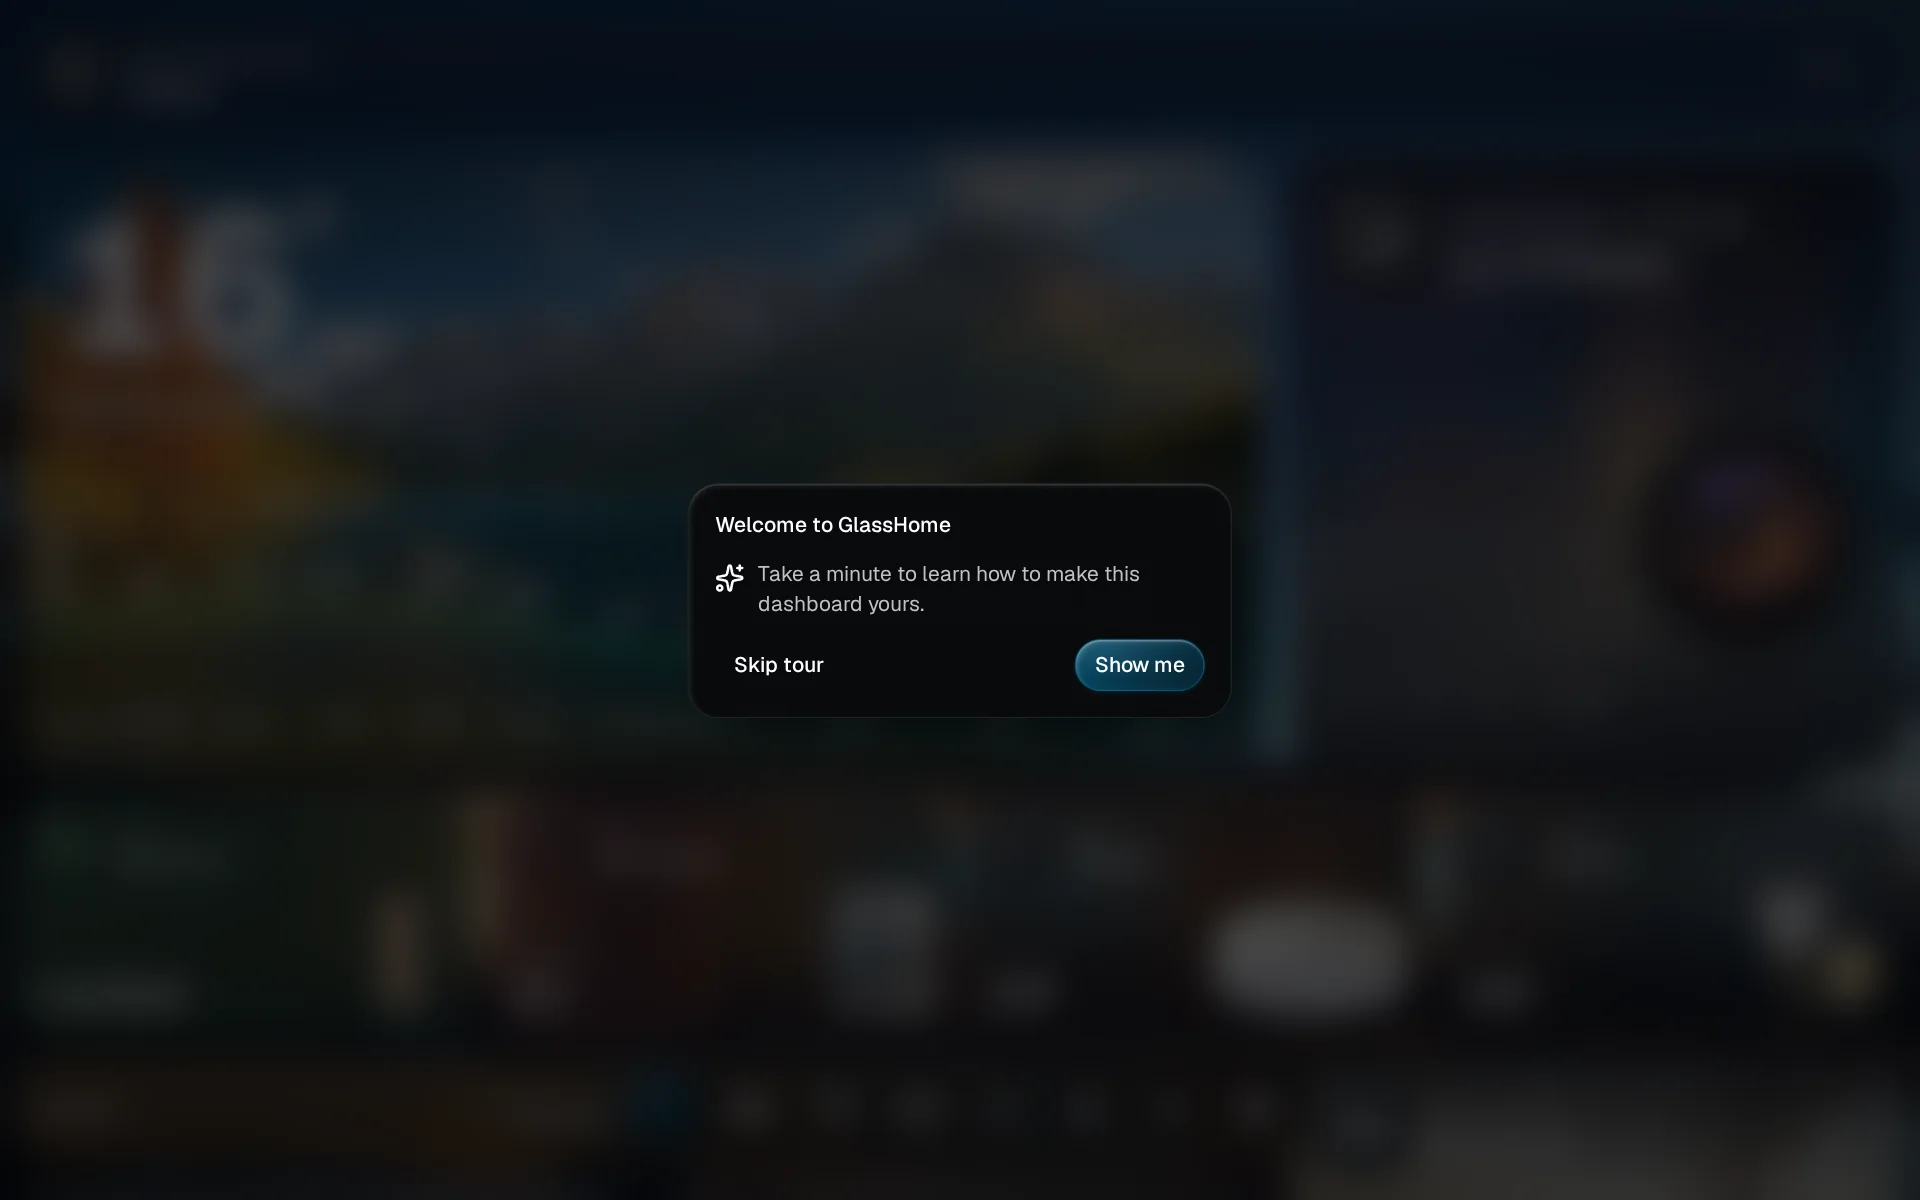
Take the tour
Your dashboard opens with a short tour that shows you how to edit it. Each chapter can be replayed from Settings, under General, in the section How GlassHome works, with Replay.
If something looks off
If GlassHome cannot find Home Assistant, check that Home Assistant opens in a browser at the address you typed. Connecting covers the rest.
You are done when
You have a dashboard with your name on it. Next, rearrange it, then make it look like yours.